From Bright Pattern Documentation
Contents
- Introduction
- Integration Steps
- Prerequisites
- Importing a Call Center Definition File
- 1 Installing a Managed Package
- Configuring Call Center Parameters
- Enabling Single Sign-On
- Enabling SFDC Data Access from Scenarios
- Importing Calling Lists and Exporting Campaign Results
- Customizing SFDC Activity Objects
- Configuring SFDC Data Screen Pop for Outbound Preview Campaigns
- Frequently Asked Questions
- Searching for a contact using the Salesforce.com Search block
- Locating or Creating Screen Pop URLs for an SFDC Object
- Preventing the Salesforce.com screen pops from opening another tab
- Enabling the Service Console (or Service Cloud)
- Pausing and Resuming Recordings
- How to Remove SFDC Integration
Salesforce.com Integration Guide
Installing a Managed Package
To get started on configuring Salesforce integration, you must install a managed package. Installation can be performed by developers in either a sandbox or production environment with proper permissions.
Before you begin installing anything, make sure you have registered and created a Salesforce developer account. You can do that at salesforce.com.
How to Install the Managed App
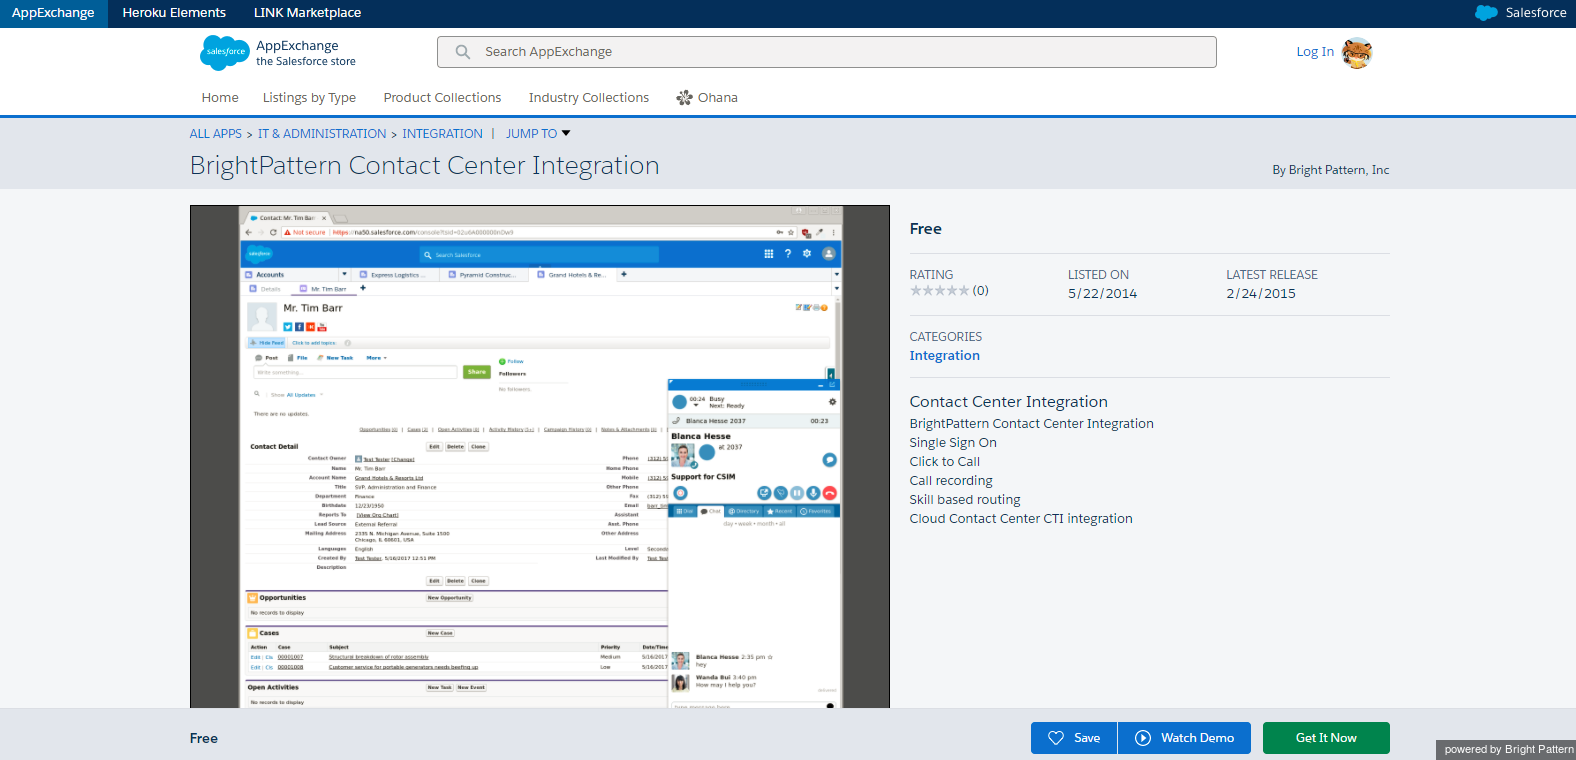
- Go to the Salesforce AppExchange and get the BrightPattern Contact Center Integration app.
- At the bottom of the page, click Get It Now.
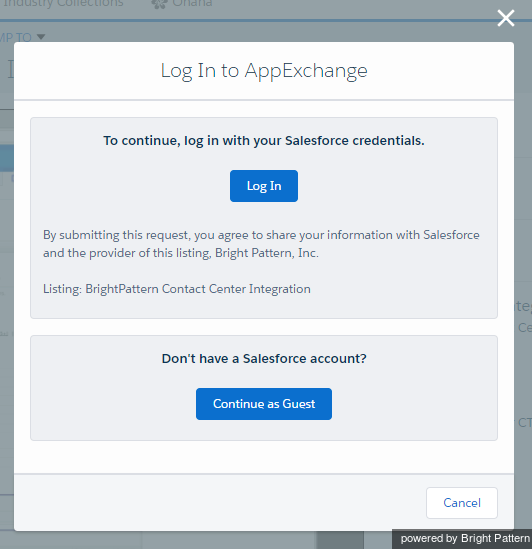
- In the dialog that pops up, log in with your Salesforce credentials for your Salesforce developer account. (If you do not already have a developer account, now is the time to create and register one.)
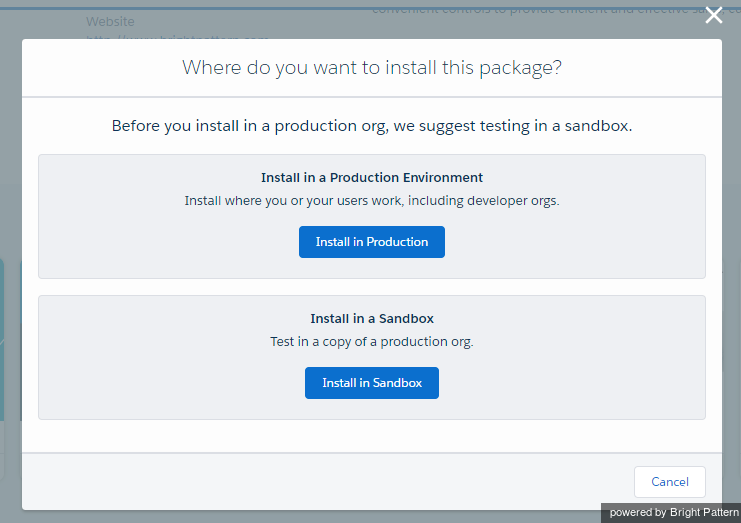
- Select either Install in Production or Install in Sandbox. Then in the Confirm Installation Details dialog, agree to the terms and click Confirm and Install.


