Contents
- Introduction
- Configuration
- Prerequisites
- 1 Procedure
- 1.1 Step 1: Activate plug-ins for phone communication on servicenow.com.
- 1.2 Step 2: Replace the OpenFrame configuration URL
- 1.3 Step 3: Configure a new OAuth Endpoint.
- 1.4 Step 4: Create a new integration account.
- 1.5 Step 5: Specify ServiceNow integration account properties.
- 1.6 Step 6: Authenticate your newly integrated account in ServiceNow.
- 1.7 Step 7: Log in and complete Agent Desktop installation.
- Scenarios
- Features and Usage
Procedure
Step 1: Activate plug-ins for phone communication on servicenow.com.
Visit ServiceNow documentation, section Phone installation and configuration, and follow the given procedure to activate plug-ins that establish the phone communication channel between internal and external users and customers.
Important: Do not follow Step 3 and Step 4 for setting up Twilio and configuring Notify.
Step 2: Replace the OpenFrame configuration URL
Change the used OpenFrame configuration URL to https://<tenant-name>.<service-provider-domain-name>/agentdesktop/?servicenow=1
Step 3: Configure a new OAuth Endpoint.
In order to create a new ServiceNow integration account, you must first configure a new OAuth Endpoint for ServiceNow. Doing so will provide you with the Client ID and Client Secret, which you will need to authorize access to ServiceNow applications. You will specify the Client ID and Client Secret in your ServiceNow integration account properties in Step 5 of this procedure.
For more information, refer to the ServiceNow OAuth Setup documentation.
Step 4: Create a new integration account.
Log in as Admin to the Contact Center Administrator application. Then navigate to Configuration > Integration Accounts.
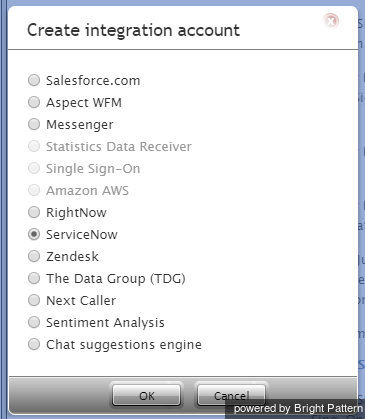
Click the Add + button to add a new account. In the Create integration account window that appears, select ServiceNow and click OK.
Step 5: Specify ServiceNow integration account properties.
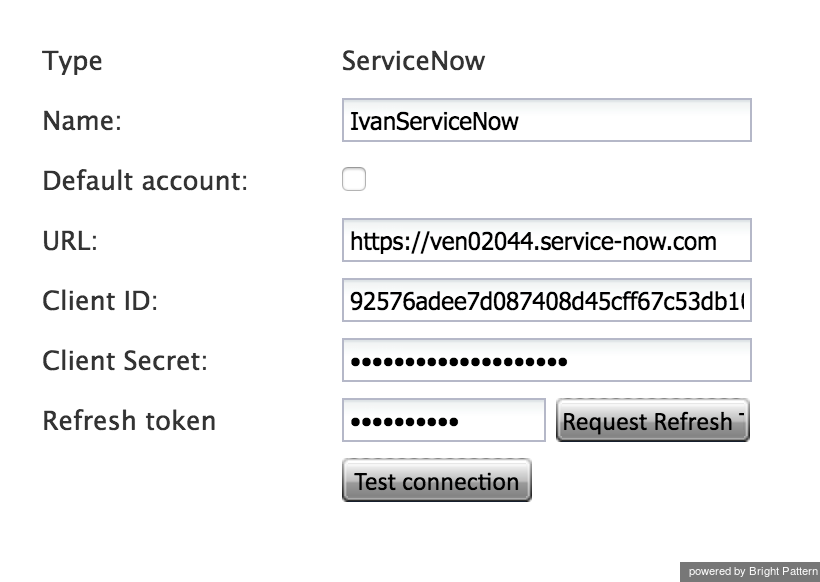
Using the My Instance credentials that you saved when you first requested a ServiceNow developer instance, as well as the credentials from OAuth setup, enter values for the following screen properties. (If you do not know your credentials, ask your system administrator.)
Screen Properties
- Type - The type of integration account (i.e., in this case, ServiceNow)
- Name - The name of your integration account
- Default account - Select this checkbox if this ServiceNow integration account will be used as default.
- URL - The unique URL of your instance
- Client ID - The Client ID is the automatically generated unique ID of the application. The instance uses the client ID when requesting an access token. Note that the client ID is obtained when configuring the OAuth Endpoint in Step 2 of this procedure.
- Client Secret - The Client Secret is the shared secret string that both the instance and the application use to authorize communications with one another. The instance uses the client secret when requesting an access token. Note that the client secret is obtained when configuring the OAuth Endpoint in Step 2 of this procedure.
- Request Refresh Token - This button will request a refresh token.
- Test connection - This button tests the validity of the connection.
Click the Test connection button. If the connection is OK, the “Connection is valid” message appears.
Click Apply to save your changes.
Step 6: Authenticate your newly integrated account in ServiceNow.
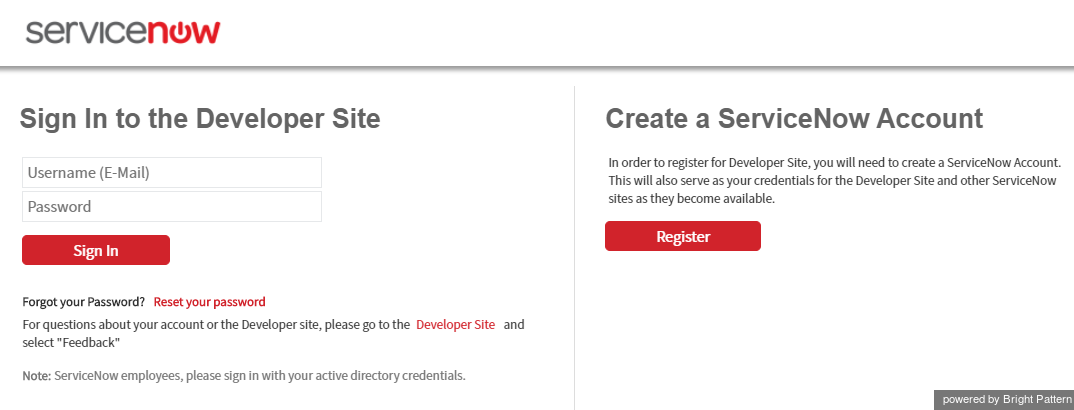
In a separate browser window or tab, go to the ServiceNow Developer site and sign in to your developer instance.
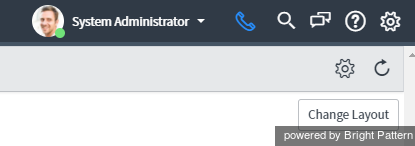
Notice that your ServiceNow Homepage now displays a phone icon at the top right corner of the screen.
Click on the phone icon to open the Agent Desktop application widget.
Note that you can change the width and height of the Agent Desktop widget by adjusting ServiceNow’s OpenFrame configuration. Access such configuration settings by searching ServiceNow for “openframe” or by going to ServiceNow’s System Properties > OpenFrame.
Step 7: Log in and complete Agent Desktop installation.
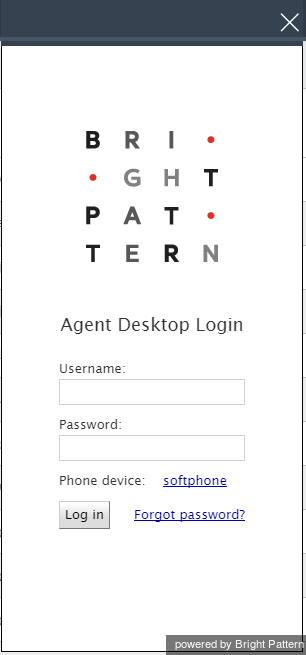
Sign in to Agent Desktop with your username and password, being sure to select your desired phone device.
By default, you log in with a softphone. To choose another device, click the current Phone device setting and select the desired type of device from the menu that appears. For more information about the available device options, see the Bright Pattern Contact Center Agent Guide, section Selecting a Phone Device.
Click the Login button. Note that if this is your first login into Agent Desktop on the given computer, you will be prompted to install the Agent Desktop Helper Application.
The Bright Pattern Contact Center Agent Desktop widget will now show a standard set of tabs and controls available to a contact center agent.
For more information about the Agent Desktop tabs and controls, see the Agent Guide. Note that the appearance and location of these controls has been modified to match the overall look and feel of the ServiceNow application.

