From Bright Pattern Documentation
How to Remove SFDC Integration
Removing Salesforce.com (SFDC) integration involves deleting the Salesforce.com integration account from Bright Pattern's Contact Center Administrator application and, optionally, deleting the connected app from Salesforce.com.
To remove the SFDC integration account, follow these steps:
- Log in to the Bright Pattern Contact Center Administrator application.
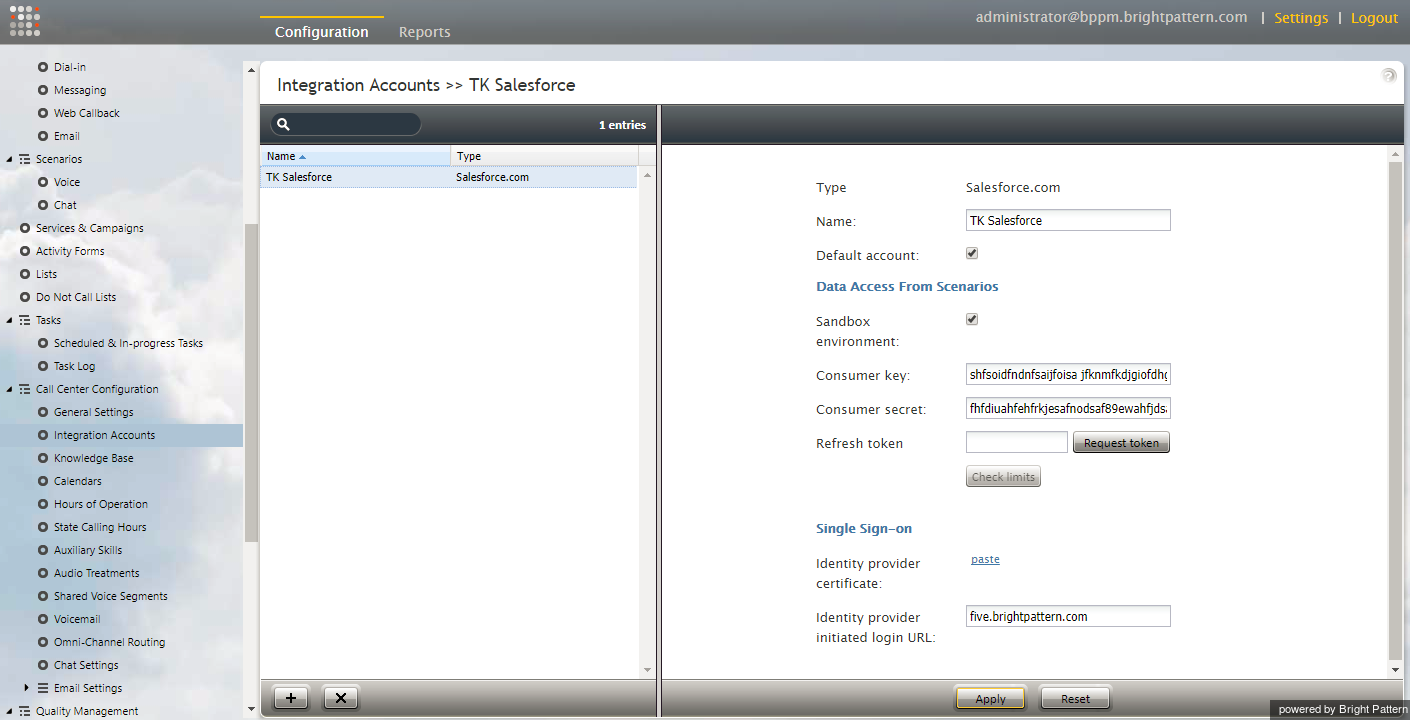
- From the main menu, under Call Center Configuration, select Integration Accounts.
- From the list of accounts, select the SFDC integration account you wish to remove.
- Click the X button at the bottom of the screen to remove the integration account.
- A dialog will open, asking you to confirm deletion. Click OK.
For more information on integration accounts, see the Contact Center Administrator Guide, section Integration Accounts.
Optional: Uninstall in Salesforce
- In Saleforce.com, navigate to Manage Connected Apps.
- Click the call center you wish to uninstall (i.e., "BrightPattern").
- Click Uninstall at the top of the Connected App Detail page to uninstall your connected app.

