Contents
- Introduction
- Starting Your Working Session
- Starting Agent Desktop
- Selecting a Phone Device
- Logging into Agent Desktop
- Installing and Updating Agent Desktop Helper Application
- User Interface Overview
- Changing Your Agent Desktop Appearance
- Understanding Screen-pop
- Configuring Your User Profile
- Configuring Your Voicemail
- Listening to Voicemail Messages
- Call Forwarding
- Using the Calendar
- Getting Help
- Understanding and Handling Your States
- How to Interpret Your Current State Information
- How to Make Yourself Ready
- How to Make Yourself Not Ready
- Handling Calls
- How to Answer an Incoming Call
- How to Reject an Incoming Call
- How to Make an Internal Call
- How to Make an Outbound Call
- How to Send Numeric Information
- How to Use the Directory
- How to Redial a Previously Dialed Number
- How to Use Favorite Contacts
- How to Mute a Call
- How to Release a Call
- How to Wrap Up After-call Work
- How to Enter Dispositions and Notes
- How to Hold and Retrieve a Call
- How to Make a Consultation Call
- How to Transfer a Call
- How to Host a Conference
- How to Participate in a Conference
- How to Place a Call in a Service Queue
- How to Connect a Voice Application to Your Call
- How to Use Pre-recorded Messages
- How to Record a Call
- How to Stop or Pause Call Recording
- How to Collect a Voice Signature
- How to Schedule a Follow-up Activity
- How to Send SMS Messages
- Participating in an Outbound Campaign
- General Information About Outbound Campaigns
- How to Review a Calling Record
- How to Reject a Calling Record
- How to Reschedule a Call Attempt
- Handling Service Chats
- How to Accept a Chat Request
- How to Reject a Chat Request
- How to Send Chat Messages
- How to Send and Receive Pictures and Documents
- How to Transfer Your Chat Session
- How to Create and Edit Canned Chat Responses
- How to End a Chat Session
- Handling Multiple Chat Sessions
- Handling Mobile Interactions
- Handling Email
- General Information About Handling Email
- Understanding Email Cases and Threads
- How to Accept an Email
- How to Retrieve an Email from the Team Queue
- How to Retrieve an Email from Your Personal Queue
- Overview of the Email Working Area
- How to Review an Incoming Email
- How to Mask Sensitive Data
- How to Close an Email without Replying
- How to Change an Assigned Email Service
- How to Transfer an Email
- How to Forward an Email
- How to Compose a Reply
- How to Send a Follow-up Outbound Email
- 1 How to Send a New Outbound Email
- How to Save an Email as a Draft
- Knowledge Base
- General Information About Knowledge Base
- How to Use a Knowledge Base Article
- Contributing Content to the Knowledge Base
- Other Useful Functions
- Dashboard
- Ways to Request Assistance
- How to Use Internal Chat
- How to Report a Call Quality Problem
- How to Send Agent Desktop Application Logs to Your Administrator
- Ending Your Working Session
- Error Messages
How to Send a New Outbound Email
While follow-up emails are associated with existing cases, new outbound emails are emails that you send to your customers regarding matters unrelated to any existing cases. When you compose and send a new email, a new case is created automatically.
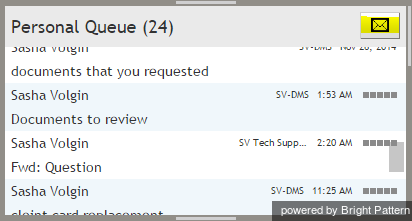
To send a new outbound email, click the Compose button in your personal email queue.
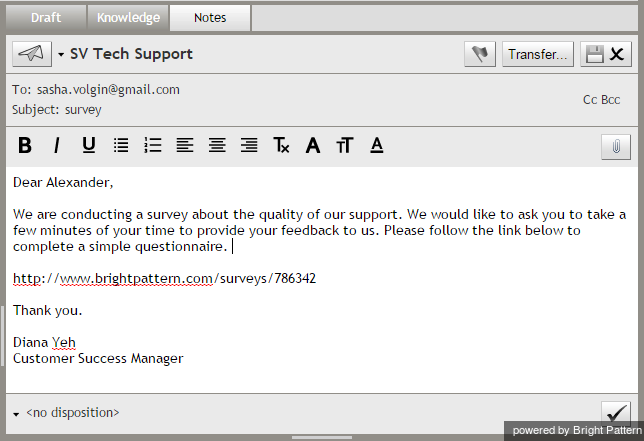
A new email draft will appear in your Active Communications List. The Context Information Area will display the familiar email processing views and controls. For more information, see Overview of the Email Working Area.
Select the service that this email is associated with. Specify the recipient email address, add cc and/or bcc if necessary, type the subject, compose the email itself, and click Send.
Your email will be sent and a new case will be created. If the customer replies to your email, his reply will be automatically associated with that new case. Subsequent processing of the customer reply will be no different from processing of incoming emails.


