Contents
- Introduction
- Starting Your Working Session
- Starting Agent Desktop
- Selecting a Phone Device
- Logging into Agent Desktop
- Installing and Updating Agent Desktop Helper Application
- User Interface Overview
- Changing Your Agent Desktop Appearance
- Understanding Screen-pop
- Configuring Your User Profile
- Configuring Your Voicemail
- Listening to Voicemail Messages
- Call Forwarding
- Using the Calendar
- Getting Help
- Understanding and Handling Your States
- How to Interpret Your Current State Information
- How to Make Yourself Ready
- How to Make Yourself Not Ready
- Handling Calls
- How to Answer an Incoming Call
- How to Reject an Incoming Call
- How to Make an Internal Call
- How to Make an Outbound Call
- How to Send Numeric Information
- How to Use the Directory
- How to Redial a Previously Dialed Number
- How to Use Favorite Contacts
- How to Mute a Call
- How to Release a Call
- How to Wrap Up After-call Work
- How to Enter Dispositions and Notes
- How to Hold and Retrieve a Call
- How to Make a Consultation Call
- How to Transfer a Call
- How to Host a Conference
- How to Participate in a Conference
- How to Place a Call in a Service Queue
- How to Connect a Voice Application to Your Call
- How to Use Pre-recorded Messages
- How to Record a Call
- How to Stop or Pause Call Recording
- How to Collect a Voice Signature
- How to Schedule a Follow-up Activity
- How to Send SMS Messages
- Participating in an Outbound Campaign
- General Information About Outbound Campaigns
- How to Review a Calling Record
- How to Reject a Calling Record
- How to Reschedule a Call Attempt
- Handling Service Chats
- How to Accept a Chat Request
- How to Reject a Chat Request
- How to Send Chat Messages
- 1 How to Send and Receive Pictures and Documents
- How to Transfer Your Chat Session
- How to Create and Edit Canned Chat Responses
- How to End a Chat Session
- Handling Multiple Chat Sessions
- Handling Mobile Interactions
- Handling Email
- General Information About Handling Email
- Understanding Email Cases and Threads
- How to Accept an Email
- How to Retrieve an Email from the Team Queue
- How to Retrieve an Email from Your Personal Queue
- Overview of the Email Working Area
- How to Review an Incoming Email
- How to Mask Sensitive Data
- How to Close an Email without Replying
- How to Change an Assigned Email Service
- How to Transfer an Email
- How to Forward an Email
- How to Compose a Reply
- How to Send a Follow-up Outbound Email
- How to Send a New Outbound Email
- How to Save an Email as a Draft
- Knowledge Base
- General Information About Knowledge Base
- How to Use a Knowledge Base Article
- Contributing Content to the Knowledge Base
- Other Useful Functions
- Dashboard
- Ways to Request Assistance
- How to Use Internal Chat
- How to Report a Call Quality Problem
- How to Send Agent Desktop Application Logs to Your Administrator
- Ending Your Working Session
- Error Messages
How to Send and Receive Pictures and Documents
You can send files to your customers via chat and receive files from them.
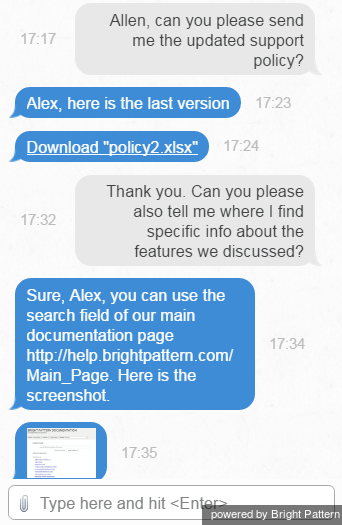
To send a file, click the Add attachment button , select the desired file, and click Open. You can also drag and drop the file directly to your Chat Panel. To the customer, the transmitted file will normally appear as a link for a document (or a thumb for a picture). The customer can click the link/thumb to download the file and open it as any regular file on his computer.
The screenshot below shows how the attached document and picture may appear to the customer.
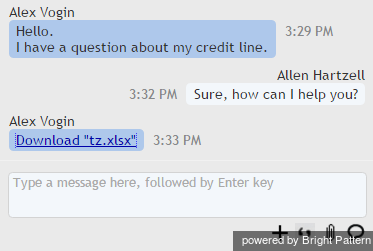
Your customers can send you files using either the drag-and-drop method or the Add attachment button .
If the customer sends you a document, your Chat Panel will show the file name as a link. Click the link to download the document and open it as any regular file on your computer.
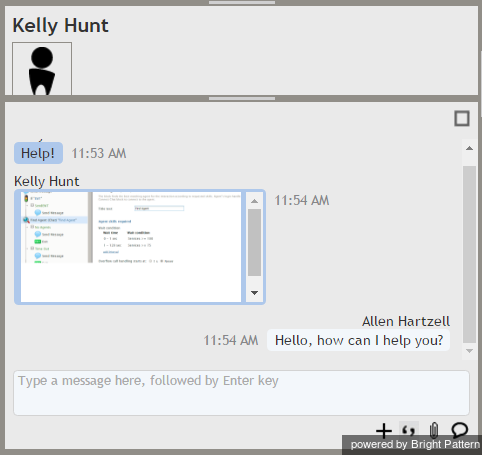
If the customer sends you a picture, it will be displayed as part of your message exchange in the Chat Panel.
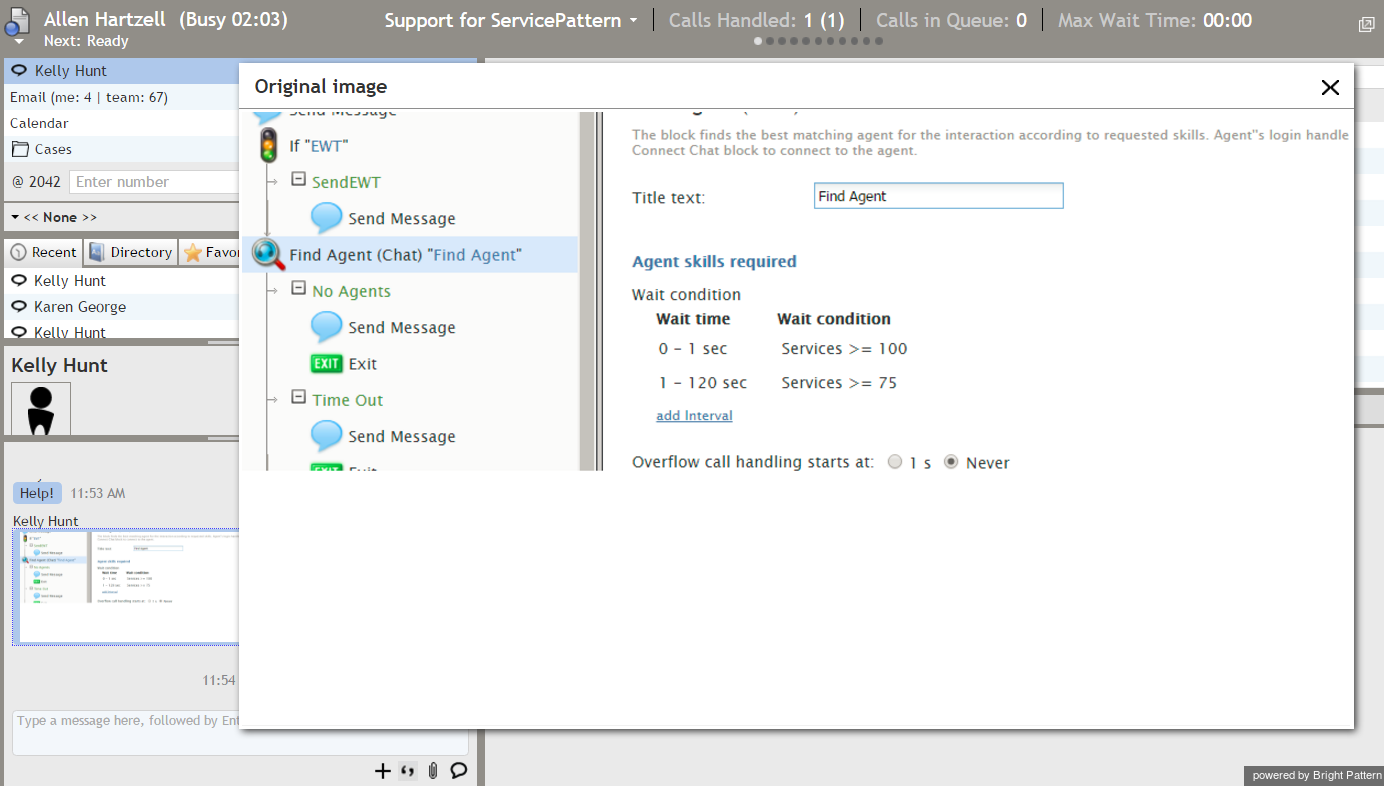
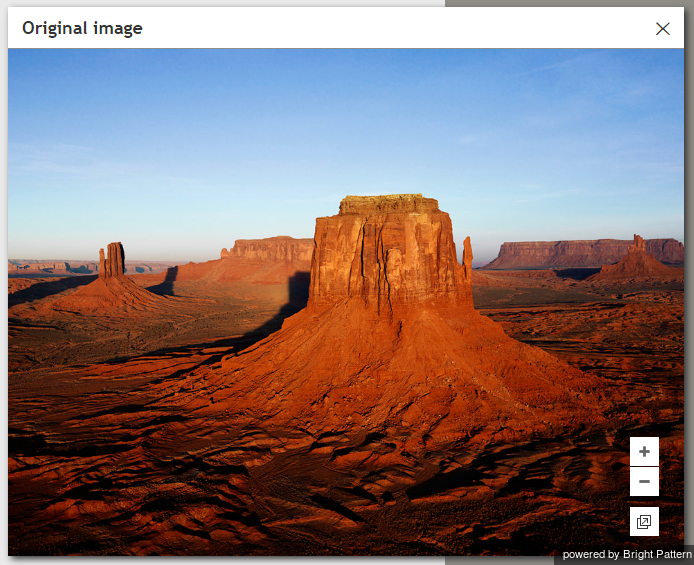
If you click the picture, it will appear in a large pop-out window.
If the native size of the picture is larger than the pop-out window, you will be able to adjust the viewing are via zoom controls and/or display the picture in a separate browser tab/window.

