How to Accept a Chat Request
When logged in to the Agent Desktop application and in the Ready state, you are available to receive interactions such as chats at any time. Accepting a chat request is simple.
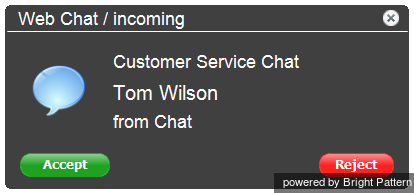
When a service chat interaction is delivered to your desktop, you will hear a tone and see an alert pop-up window titled Web Chat indicating a chat request. Your state will change from Ready to Busy. The alert pop-up window will display the name of the service requested by the customer as well as the customer’s name if it was provided in the chat request form.
To accept the chat request, follow these steps:
- Click the Accept button.
- The Active Communications List will display the chat icon
, which indicates that the chat session is now established and the timer for this session will start.
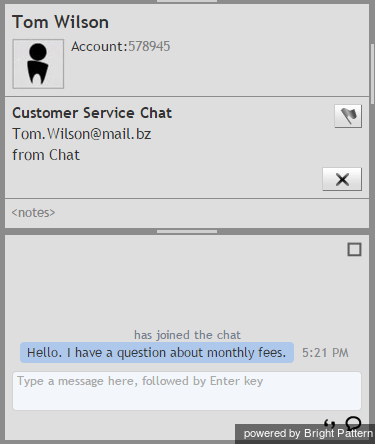
- The available customer information will be displayed in the Contact Info Panel.
- You can now begin a chat session with the customer.
If you do not accept a chat request within a predefined amount of time, you will be automatically switched to the Not Ready state. You will need to make yourself manually Ready when you are ready to receive another chat.
Note: Unaccepted chat requests will appear in your performance and activity reports.


