How to Send Chat Messages
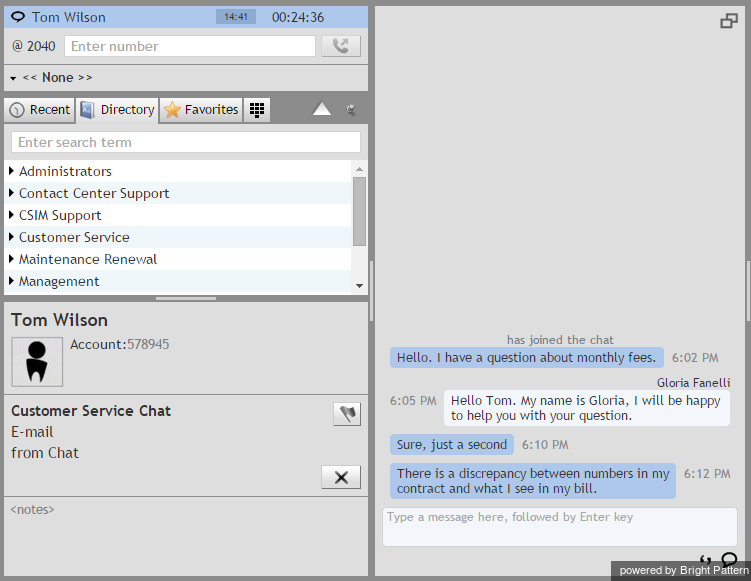
If the customer has entered any chat text at the time of chat request, it will be displayed in the Control Info Panel above the Text Input Field.
You can carry on a conversation with the customer in the Contact Info Panel or open a separate Chat Panel next to it. To open the Chat Panel, click the Pop-out chat panel icon in the Control Info Panel. To collapse the Chat Panel, click its Pop-in chat panel icon
.
You chat session is displayed in the Active Communications List. Note that it has two timers: one regular timer for the time elapsed since the beginning of the chat session, and the other for the time elapsed since the last chat message from the customer. The latter will only be displayed when it is your turn to send a message to the customer.
To send a chat message to the customer, type the desired text in the Text Input Field and click the Send message icon .
You can send files to your customers via chat. To send a file, click the Add attachment button and select the desired file.
For standard situations, such as greetings or ending the conversation, instead of typing the message from scratch, you may be able to select it from a list of canned (pre-defined) chat responses. You can create such responses yourself. For more information, see How to Create and Edit Chat Responses. Canned responses may also be prepared and made available to you by your system administrator. Variables, which may appear in some canned messages as letters preceded by the “%” sign, have the following meanings:
- %F – customer’s first name
- %L – customer’s last name
To select a canned chat response, click the Select pre-defined message icon and select the desired message. The selected message will appear in the Text Input Field. Note that you can modify this message before sending it. Click Send message.
All chat messages entered by yourself and by the customer will appear in the Chat Dialog Window above the Chat Input Window.
If your contact center uses a knowledge base for customer service, you may be able to use information from that knowledge base in your chat messages.

