How to Transfer an Email
A transfer is sending an email to another resource within your contact center for further processing. As mentioned in the previous section, the most likely reason you may need to transfer an email is when you are not sure how to process it. In this case, you can either transfer the email to another service queue, or to another agent, or to your supervisor.
If you receive an email that you are not qualified to handle it, but you know what the correct service is, you can transfer this email to the correct service. To transfer the email, click the Transfer… button.
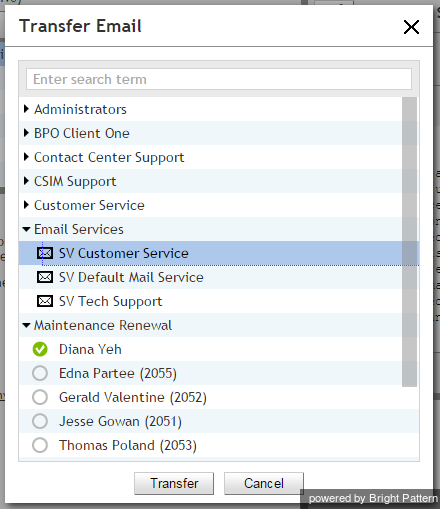
In the dialog window that appears, select the desired service. If you do not see the desired service on the screen, but know its name, you can enter it in the search field. Click OK to confirm the assignment.
The email will be removed from your desktop and will appear in the queue of the team that is qualified to handle the service that you selected.
If you do not know what the correct service is, you can transfer this email to your supervisor or another agent who may have this knowledge. To transfer the email to a supervisor or another agent, click the Transfer… button (see above). In the dialog window that appears, select the desired person. Click OK to confirm the assignment. The email will be removed from your desktop and appear on the desktop of the supervisor or agent that you have transferred this email to.
When you transfer emails to other agents, consider providing some explanation using the notes editor. If you enter any notes, the other agents will see them and understand the reason the email is transferred to them.


