Contents
- Introduction
- General Information
- Contact Center Configuration Process
- Initial General Configuration
- Inbound Voice and Chat Service Configuration
- Outbound Campaign Configuration
- Email Service Configuration
- Users and Teams
- Overview
- Users
- Forwarding and Voicemail Operation
- Teams
- Agent Dashboard Metrics
- Roles
- Privileges
- Skill Levels
- Help Screens
- Directory
- Scenario Entries
- Scenarios
- 1 Scenarios Overview
- Services and Campaigns
- Services and Campaigns Overview
- Properties Tab
- Assignments Tab
- Lists Tab
- Dispositions Tab
- Activity Tab
- Numbers Tab
- Service Level Tab
- Outbound Tab
- Results Tab
- Archive Tab
- Canned Tab
- Email Tab
- Pre-defined Dispositions
- Outbound - General
- Outbound - Calling Hours
- Outbound - Dial Rules
- Outbound - DNC
- Outbound - Diagnostics
- Activity Forms
- Lists
- Tasks
- Call Center Configuration
- General Settings
- Integration Accounts
- Knowledge Base
- Calendars
- Hours of Operation
- State Calling Hours
- Auxiliary Skills
- Audio Treatments
- Shared Voice Segments
- Voicemail
- Omni-Channel Routing
- Chat Settings
- Email Settings
- Quality Management
- Reporting
- Security
- Appendices
Scenarios Overview
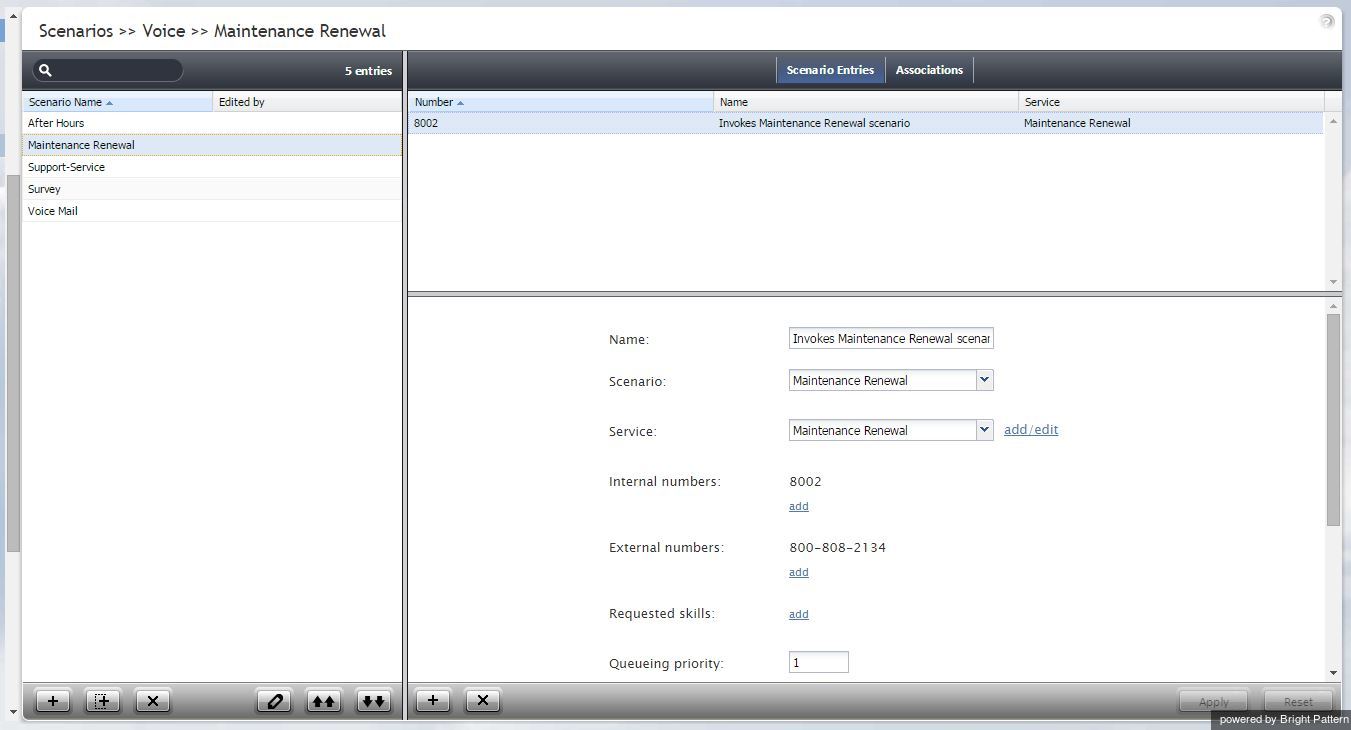
Scenarios define the logic of automated interaction processing in your contact center. Execution of a scenario with respect to a specific interaction is triggered by a particular event such as arrival of a call at a specific access number or initiation of a chat session from a specific web page. Scenarios can perform many different automated actions. For example, with respect to an inbound call, scenarios can collect additional information via interaction voice response, identify the requested service, and distribute the call to one of the qualified and available contact center agents.
The list in left pane of the scenario view displays the existing voice scenarios. If a scenario is being edited by someone else at the moment, the name of the editor will appear in the Currently Edited By column.
To create a scenario, first select the media type of the interactions that this scenario will process (voice or chat). In the scenario list view, click the Add scenario button at the bottom of the list. To edit a selected scenario, click the Edit scenario button at the bottom of the list. Either operation will open a new browser window with the Scenario Builder application with all control elements that may be used in automated interaction processing.
ServicePattern provides a number of scenario templates for some standard functions, such as virtual queue and compliant telemarketing call. Depending on the type of scenario your are working on, it may be easier to select a corresponding template and customize it to the requirements of your contact center, as opposed to creating a scenario from scratch. To create a scenario using a template, click the Add from template button, select the desired template, modify the content as needed, and save it as your new scenario.

